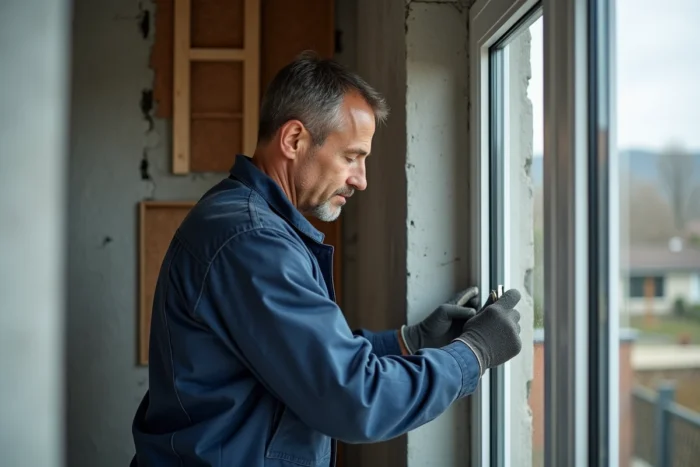
An aluminum window is installed according to precise rules framed by the DTU 36.5, the technical document that defines the implementation requirements for exterior joinery in France. Mastering these rules before touching the first tool avoids sealing issues and costly repairs. This guide details the technical points not to be overlooked for a durable installation, from checking the support to treating the peripheral joint.
Thermal expansion of aluminum: the parameter that DIYers forget
Aluminum expands more than PVC or wood when heated. On a wide bay, the movement can reach several millimeters between winter and summer. Ignoring this phenomenon leads to frame deformations, friction on the openings, and ultimately, infiltrations.
To compensate for this expansion, the peripheral installation gap must be calculated based on the dimensions of the joinery and the local thermal amplitude. A gap that is too tight blocks the frame in summer, while a gap that is too wide compromises insulation. The DTU 36.5 imposes minimum spacings between the frame and the masonry, with fixings that allow slight longitudinal sliding of the profile.
Specifically, during the installation of aluminum windows, the fixing brackets must be positioned at regular intervals and should never rigidly constrain the frame. Each bracket absorbs movement without transmitting stress to the structure.
Checking the support and residual humidity before installation
The DTU 36.5 requires checking for the absence of residual humidity in the rebate before any implementation. This check, which can be done with a moisture meter or simply a blotting paper applied to the support, is almost absent from public tutorials.
A damp support increases the risk of corrosion of the fixings, degradation of the sealants, and the appearance of mold behind the frame. On a renovation site, this problem frequently arises: the old frame may have masked capillary rises or old infiltrations.
What to do if the support is damp
If the test reveals excessive humidity, the installation must be postponed. Natural drying for several days, or even a waterproofing treatment of the masonry, is necessary before fixing the frame. Installing on a damp wall amounts to sealing a defect behind the joinery, with visible consequences in just a few months.
Sealing of the peripheral joint: why foam alone is no longer enough
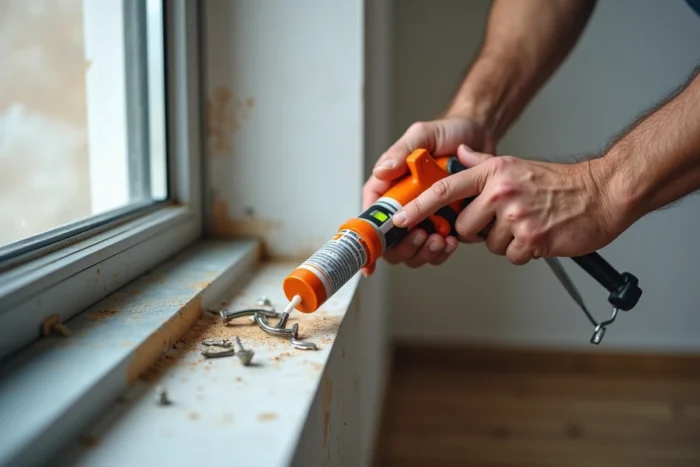
Expanding polyurethane foam has long been the default reflex for filling the gap between the frame and masonry. Since the update of the DTU 36.5, foam can no longer be used alone as the main sealing system. It remains a thermal insulation complement, but does not guarantee water tightness on the outside or air tightness on the inside.
The peripheral joint must now adhere to a three-layer principle:
- Outside: a compressible joint (pre-compressed impregnated foam) or a sealing membrane that blocks water while allowing vapor to escape outside.
- Intermediate zone: polyurethane foam fills the gap and provides thermal insulation between the frame and the masonry.
- Inside: a membrane or vapor barrier seal closes the joint to prevent humid air from the home from migrating into the thickness of the wall.
This “tight outside, vapor barrier inside” logic protects the joint from internal condensation. A joint treated only with foam degrades within a few years: water infiltrates, the foam retracts, and the peripheral insulation disappears.
Fixing the aluminum frame in the masonry
The type of fixing depends on the nature of the wall. On concrete blocks or concrete, direct anchoring screws with suitable plugs are appropriate. On wood (wood frame or old frame retained in renovation), stainless steel screws prevent corrosion from contact between different metals.
Spacing and positioning of the brackets
The fixing brackets are placed at a maximum distance from the corner of the frame as defined precisely by the DTU. The spacing between two consecutive brackets must not exceed a value that varies according to the height and width of the joinery. Each bracket must be screwed into the solid area of the aluminum profile, never into a hollow chamber.
A rigorous shimming of the frame always precedes the screwing. Shims made of rot-proof material (PVC, polypropylene) are placed at the corners and under the uprights to maintain plumb, level, and squareness. The tightening of the screws is done progressively, alternating sides, to avoid twisting the frame.
Post-installation checks: tests not to skip
Once the frame is fixed and the joints treated, three checks validate the quality of the implementation:
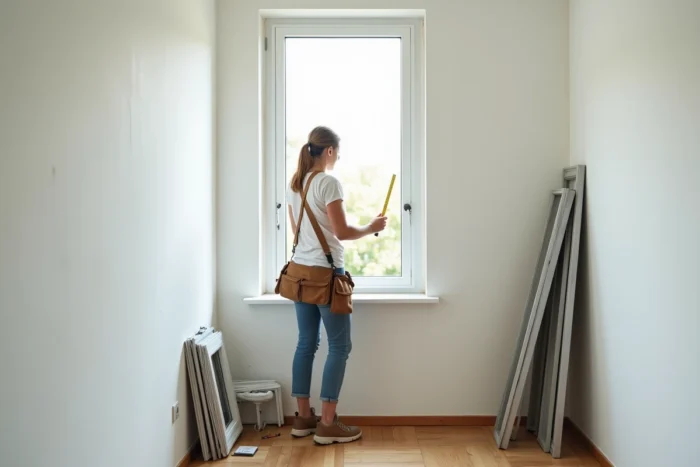
- The squareness check with a spirit level or laser: the diagonals of the frame must be identical within a few millimeters.
- The test of opening and closing the sashes: each leaf must slide or pivot without friction or abnormal resistance, indicating that the frame is not deformed.
- The visual check of the continuity of the compressible joint on the outside and the vapor barrier seal on the inside, without uncovered areas or tears.
A sash that rubs from the first use indicates a shimming defect, not a hardware problem. Correcting the shimming before finishing avoids having to dismantle everything once the coverings are installed.
The quality of an aluminum window is not only measured by its announced thermal performance. A poorly installed high-end glazing loses a significant part of its insulating power due to thermal bridges created by a defective peripheral joint. Taking the time for each step, from the moisture test of the support to the final check of the sashes, remains the only way to ensure that the joinery will deliver on its promises over time.